Thursday, August 11, 2016
Thursday, June 9, 2016
Painting fun!
I've been painting glass for more than 7 years! It's been a blast. What a fun, unique gift for family and friends. It's also been a source of income for my family.
A couple tips for beginners:
1. Use enamels! They are meant for glass and porcelain.
2. Take your time! Don't rush just to get it done, craftsmanship is important!
3. Try different brushes! Small detail brushes are great but if you're painting large areas make your life easier with the right size brush.
4. Practise! You're not going to get it perfect the first time out of the gate. You can wash the paint off before it dries or scrape it off if it air dried.
5. Don't be wasteful! Remember your art teachers saying, "Dot, dot, dot, not a lot!"? Dip your brush right in the bottle of you're not mixing colors. You'll save a bunch of paint over the many glasses you're going to want to paint!
6. Images! There's a lot of free clip art out there. Using your computer print images out about 3" square. This size tends to fit nicely on most glasses. Better yet, create your own images... use lines, patterns and shapes to create a unique personal image.
7. Have fun! Don't be afraid to try unusual items. Try painting with a makeup sponge or a flower from your garden.
8. Get creating!


Wednesday, June 1, 2016
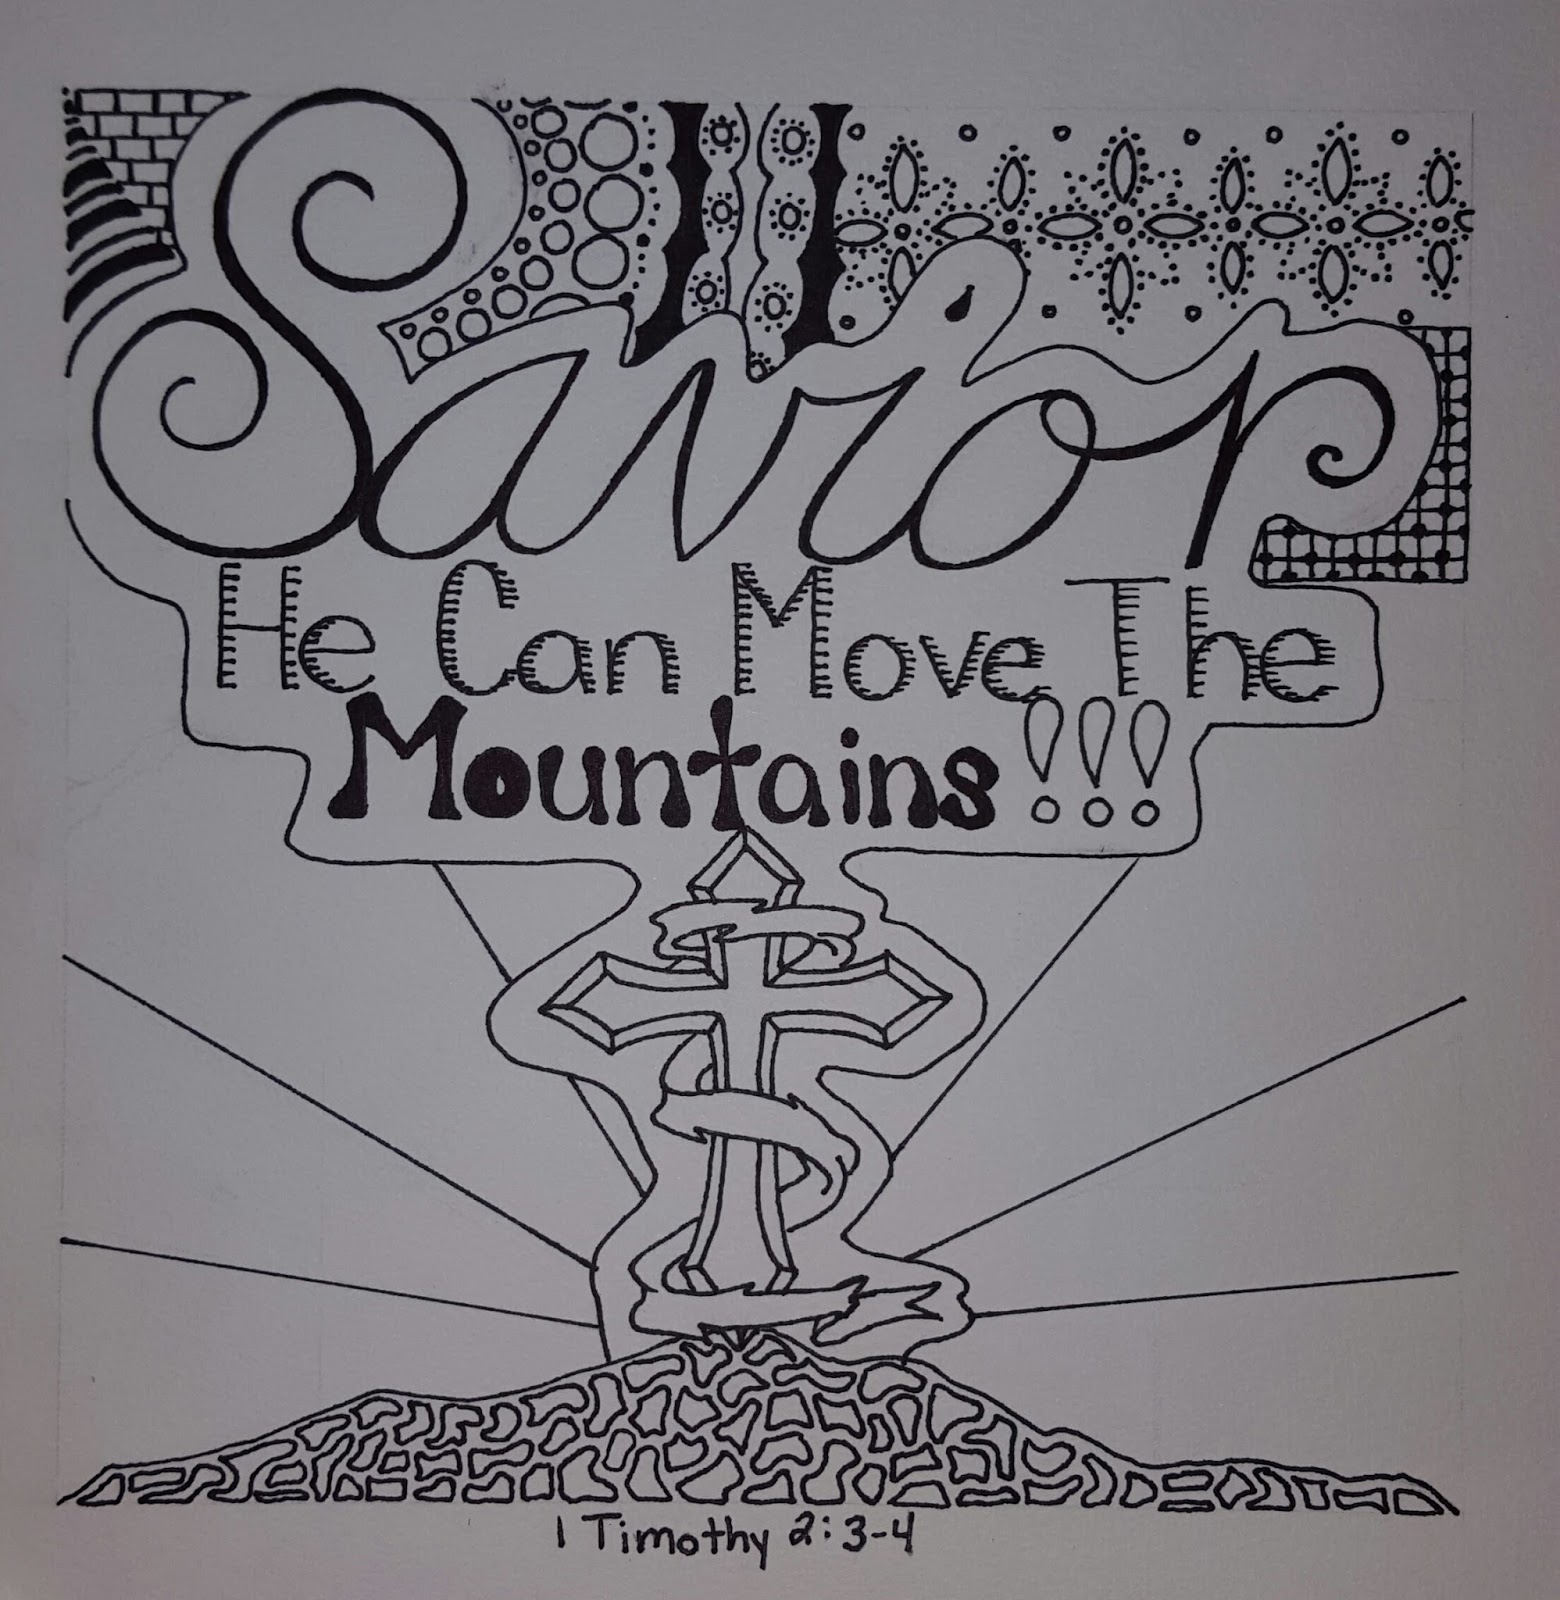
Get your DoodleDaze on!

Have you ever started to doodle while you were on the phone or in a meeting? Maybe you started with a word or a simple shape and added a line, then another and another. Before you know it the entire side margin is filled with lines or shapes... you were in a DoodleDaze!
I teach my students some basic lines, patterns and design tips and we create beautiful images. We spend hours in our DoodleDaze. It's so relaxing and a great way to relieve stress and reduce blood pressure.
All you need is paper, and pens or markers. Doodle in color or leave it black and white for a timeless masterpiece.
Here are some samples from my students...


Thursday, November 14, 2013
How to make a roasted salsa.
Step 1: roast your tomatoes and peppers in the oven, broiler, or grill.


Step 2: remove the skins from the tomatoes and peppers


Step 3: cut up onion and cilantro

Step 4: Using a blender or food processor, add tomato, peppers, onion, cilantro, lemon juice, salt, pepper, oregano and garlic. Pulse until well chopped and blended.


Step 5: Taste! You might need to add more peppers, or more tomatoes until you get the heat you like. You may also need to add more of the other ingredients too.

Once you have it tasting the way you like it, ENJOY! We make a lot at a time so we can ours and you can too.

The amount of the ingredients will vary based on your own personal tastes. The heat of your salsa will vary based on what peppers you use. If you like A LOT of heat, add some habaneros! But beware, you might need a box of Kleenex once your nose starts to run and your forehead starts to sweat. Hope you enjoy experimenting! Happy Creating!
Sunday, September 15, 2013
Christmas candy dishes
How cute are those candy dishes I posted earlier? Way cute! I've been busy making more! So here they are!


***UPDATE*** In case you haven't looked at earlier posts (the scarecrow candy dish) I will let you know how to make these here.
What you need:
terracotta pot and saucer(s) (I got mine on clearance at Menard's)
glass bowl (dollar tree has a few sizes to choose from)
knob for top (I used cedar moth balls from Menard's)
glue (E6000 or hot glue)
paint (acrylic for the pots and Enamels for the glass)
brushes, work space, water, embellishments
The total cost is around $2.50!
Step 1: Paint the pots, saucers and knobs anyway you like.
Step 2: Let them dry completely!! (Glue doesn't like to stick to damp paint)
Step 3: Paint the glass with enamels. (Bake in oven to set the paint-follow instructions on paint)
Step 4: Glue the glass bowl to the painted clay pot. Make sure they line up so the head is facing the front (Hot glue dries fast! E6000 is more forgiving.)
Step 5: Glue the knob to the saucer and place on the glass dish for a hat. It's best to not use the knob to lift the hat off the bowl in case your glue didn't adhere completely or you might break your candy dish.
You can create many different dishes for many different occasions! They are cute and don't take a lot of time to make. Embellish your candy dishes how ever you like. Make them your own!
Happy Creating!
Wednesday, August 28, 2013
More candy dishes
Since so many have liked my scarecrow candy dish I figured I'd share with you images of other candy dishes I have made. Hope you enjoy! Happy creating.


I paint faces with enamel paints and bake the glass in the oven to make them more permanent.
I use acrylic paints on the clay pots and saucers.
Other materials used... twine (for straw), miniature clay saucers (mickey ears), yarn (Matthew's hair), bolts ... I used hot glue to fix everything together.
Make sure you clean the glass surface really well before painting faces or glue together.
Thursday, August 15, 2013
Scarecrow craft for Halloween
As I was driving home today an idea popped into my head. As soon as I got home I got to work. This is a super cute craft for fall or Halloween.
I'm sure you've seen similar items and it's the same concept just a different design painted on it. It's a scarecrow candy dish. When I was finished I showed a photo to my mom and she showed her man. He's not into candy so I told him to fill it with peanuts!

What you need:
What you do:

I'm sure you've seen similar items and it's the same concept just a different design painted on it. It's a scarecrow candy dish. When I was finished I showed a photo to my mom and she showed her man. He's not into candy so I told him to fill it with peanuts!

What you need:
- clay flower pot and saucer
- acrylic paint and brushes
- glass bowl
- wooden ball (I used cedar moth balls from the hardware store)
- hot glue gun and glue
- twine
- scissors
What you do:
- Paint the clay pot. I made mine look like it was in overalls and a plaid shirt.
- Cut the twine into little pieces, about an inch long, and glue them to the neck line and above hands. It looks like straw popping through its clothes.
- Paint the saucer and ball to be its hat. Once dry, glue the ball to the saucer.
- Cut twine into slightly longer pieces and glue to the underside of the "hat" so it looks like hair coming out from under it.
- Paint a face on the glass ball.
- Glue the glass ball to the clay pot and place the saucer on top.
Subscribe to:
Posts (Atom)